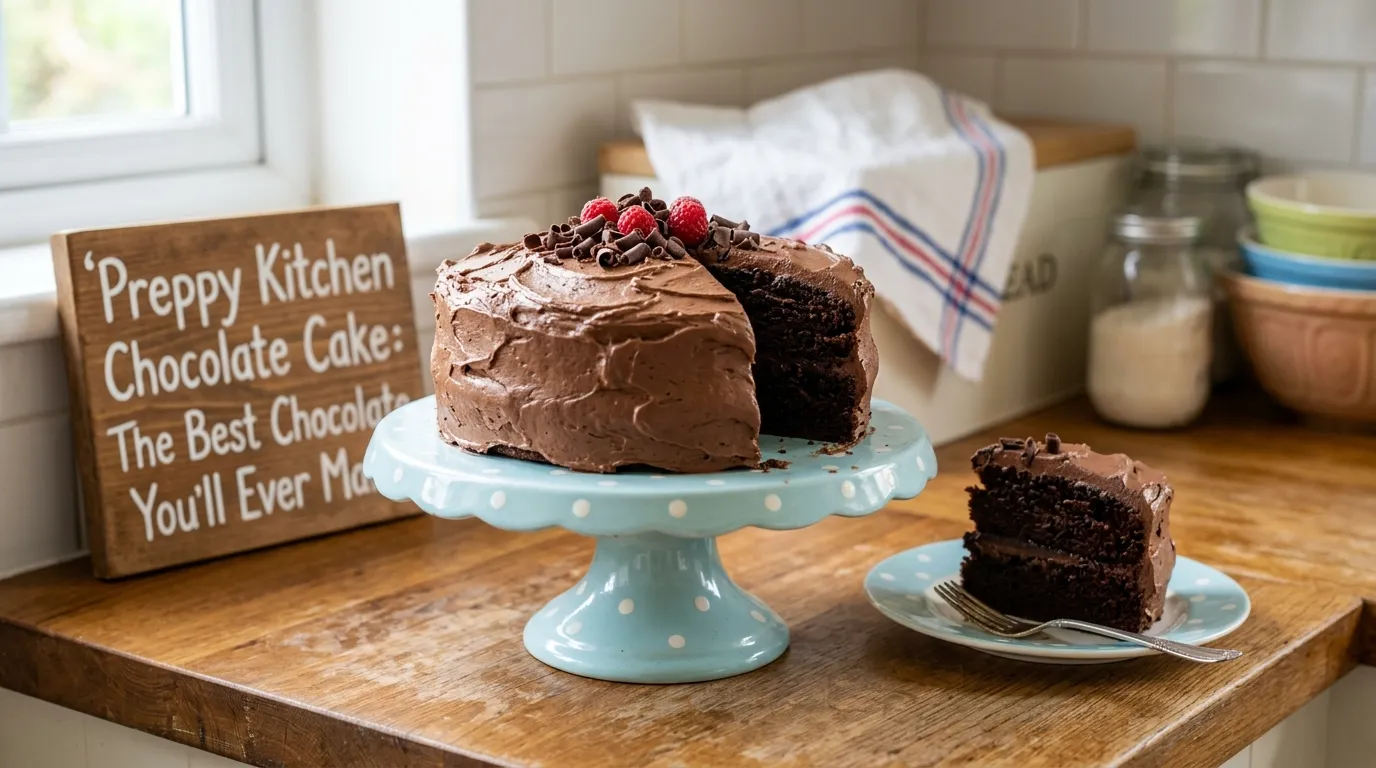
Preppy Chocolate Cake: The Best Chocolate Cake You’ll Ever Make
There are chocolate cakes, and then there is the Preppy chocolate cake. If you have spent any time in the home baking world, you already know the name John Kanell, the talented baker and content creator behind the beloved Preppy Kitchen brand. His chocolate cake recipe has earned a devoted following for one simple reason: it works, every single time, and the result is the kind of rich, fudgy, bakery-style cake that stops people mid-bite.
This article breaks down everything you need to know about recreating that legendary layer cake at home, from the science behind its moisture to the secrets of a flawless chocolate buttercream. Whether you are making it for a birthday, a celebration, or just because you deserve something deeply indulgent on a Tuesday, this guide has you covered.
What Makes the Preppy Kitchen Chocolate Cake So Special?
Before getting into flour weights and cocoa ratios, it helps to understand what this cake actually is. The Preppy Kitchen chocolate cake is a classic American layered dessert built around high-quality cocoa powder, buttermilk, and a touch of brewed coffee. It produces a soft, tender crumb with a deep, complex flavor that goes far beyond what you get from a boxed mix.
John Kanell has spent years refining this recipe, and the result reflects that care. It sits somewhere between a fluffy chocolate sponge and a fudgy chocolate cake. The layers are sturdy enough to stack and frost cleanly, yet the interior stays moist for days. That combination is rare and is exactly what elevates this from a good cake to a truly unforgettable one.
For anyone curious about the broader aesthetic and lifestyle world that Preppy Kitchen exists within, the Preppyglow community offers a great window into that world, from baking to personal style.
Essential Ingredients and Smart Substitutions

Getting the ingredients right is the single most important step. This is not a recipe where you can swap things randomly and hope for the best. Each component plays a specific role.
The Core Cake Ingredients
For the Cake Layers:
- All-purpose flour (cake flour alternative works for a slightly lighter crumb)
- Dutch-process or natural cocoa powder (rich cocoa flavor is non-negotiable here)
- Granulated sugar
- Baking soda and baking powder (both are used; they serve different leavening purposes)
- Fine salt
- Eggs (room temperature, always)
- Buttermilk (the acid reacts with baking soda to create lift and tenderness)
- Neutral oil or melted butter
- Vanilla extract
- Hot brewed coffee or hot water
For the Chocolate Buttercream Frosting:
- Unsalted butter (softened to room temperature)
- Powdered sugar (sifted)
- Cocoa powder
- Heavy cream or whole milk
- Vanilla extract
- A pinch of salt
Ingredient Substitutions That Actually Work
| Original Ingredient | Workable Substitute | Effect on Result |
|---|---|---|
| Buttermilk | Whole milk + 1 tbsp white vinegar | Slightly less tang, still moist |
| Hot coffee | Hot water | Lose depth, but still good |
| Dutch-process cocoa | Natural cocoa | Lighter color, slightly sharper flavor |
| All-purpose flour | Cake flour (reduce by 2 tbsp per cup) | Softer, more delicate crumb |
| Heavy cream (frosting) | Whole milk | Slightly less rich buttercream |
| Eggs | Flax eggs (1 tbsp flaxseed + 3 tbsp water each) | Works for vegan version; denser crumb |
One substitution worth avoiding: do not replace the oil entirely with butter in the batter. Oil keeps the cake moist at room temperature in a way that butter cannot, because butter solidifies when cooled. That moist cake crumb everyone raves about is largely the result of oil in the formula.
The Science of Hot Liquid in Chocolate Cake Batter
One of the most common questions about this recipe is: why does hot coffee or hot water go into the batter?
The answer is multi-layered. First, heat blooms the cocoa powder, which means it releases the fat-soluble flavor compounds that are otherwise locked in. You end up with a much more intense, rounded chocolate flavor without adding any extra cocoa. Second, hot liquid helps dissolve the sugar more completely, which contributes to a smoother, more uniform texture in the final crumb.
The choice of coffee specifically is not about making the cake taste like coffee. At the quantities used, you will not detect a distinct coffee flavor. What you will notice is that the chocolate tastes deeper and more complex. Coffee and chocolate share many aromatic compounds, and brewed coffee amplifies those shared notes beautifully.
If you are baking for someone who avoids caffeine, hot water works as a substitute. The cake will still be excellent. It just will not have that same back-note of depth that makes people close their eyes and say nothing for a few seconds.
The Real Secret to a Supremely Moist Chocolate Cake
John Kanell’s approach to moisture comes down to three things working together: buttermilk, oil, and not overbaking.
Buttermilk is acidic, and that acid breaks down gluten strands in the flour just enough to create a tender crumb without making the cake crumbly. It also reacts with the baking soda to produce carbon dioxide bubbles, giving the cake its lift without requiring excessive leavening agents that can leave a metallic aftertaste.
Oil, as mentioned above, stays liquid at room temperature. This means a slice of this cake pulled straight from the refrigerator will still feel soft and yielding, not dry or waxy the way a butter-only cake can.
Overbaking is the silent killer of moist chocolate cakes. The cake is done when a toothpick inserted in the center comes out with just a few moist crumbs, not completely clean. A completely clean toothpick often means the cake is already past its ideal moisture point. Pull it out a minute or two earlier than you think you need to, tent it lightly, and let carryover heat finish the job.
Choosing the Right Pan Size for Your Occasion

The standard Preppy Kitchen chocolate cake uses two or three 8-inch round cake pans to create a classic layer cake. But this recipe is flexible enough to work in several formats.
Pan Size Guide
- 8-inch rounds (2 or 3 layers): The classic presentation. Three layers gives you a tall, dramatic celebration cake. Two layers is more approachable for everyday baking.
- 9-inch rounds: Slightly shorter, wider layers. Reduce baking time by 3 to 5 minutes and check early.
- 9×13-inch sheet pan: Perfect for a crowd. Single layer, simpler frosting, equally delicious. Great for birthday chocolate dessert when you need to serve 20 people without stacking anxiety.
- Cupcakes: Fill liners two-thirds full and bake at 350°F for 18 to 22 minutes.
- Bundt pan: Works well if greased thoroughly. Frost with a simple chocolate ganache poured over the top instead of buttercream.
The most important adjustment when changing pan size is baking time, not temperature. Keep the oven at 350°F and start checking 5 to 8 minutes before the recipe suggests for smaller or shallower pans.
Step-by-Step: How to Make This Homemade Chocolate Cake
This is not a complicated recipe, but it rewards attention to detail.
Equipment You Will Need
- Two or three 8-inch round cake pans
- Stand mixer or hand mixer
- Large mixing bowls
- Whisk and rubber spatula
- Kitchen scale (recommended for accuracy)
- Parchment paper
- Offset spatula for frosting
- Cooling rack
Making the Cake Batter
Start by preheating your oven to 350°F and preparing your pans. Grease them, line the bottoms with parchment rounds, then grease the parchment too. This extra step saves real frustration when it comes time to remove the layers.
In a large bowl, whisk together the flour, cocoa powder, sugar, baking soda, baking powder, and salt. This is your dry base. In a separate bowl, whisk together the eggs, buttermilk, oil, and vanilla extract. Combine the wet into the dry, mixing until just incorporated, then slowly stream in the hot coffee. The batter will be thin. That is correct. Do not panic.
Divide it evenly between your prepared pans. A kitchen scale makes this precise. Bake for 30 to 35 minutes for 8-inch layers, rotating pans halfway through.
Preparing the Chocolate Buttercream
While the cakes cool completely (this is non-negotiable; warm cake melts buttercream), make the frosting. Beat softened butter on medium-high until pale and fluffy, about 3 to 4 minutes. Add sifted cocoa powder and mix, then add powdered sugar in stages, alternating with small splashes of cream. Beat in vanilla and salt. The frosting should be silky, spreadable, and rich without being grainy.
If it looks too thick, add cream a teaspoon at a time. If it is too loose, add more powdered sugar or chill it for 15 minutes.
Assembling the Layer Cake
Level your cooled cake layers if needed using a serrated knife. Place the first layer on a cake board or serving plate, flat side down. Add a generous layer of buttercream and spread it to the edges. Stack the next layer, repeat, and place the final layer flat side up for a smooth top surface.
Apply a thin crumb coat of frosting all over the outside, then refrigerate for 20 to 30 minutes. This sets the crumbs in place so your final coat goes on cleanly. Apply the remaining frosting in smooth, even strokes. For a cleaner look, use a bench scraper held at a 90-degree angle against the sides while rotating the cake.
Preppy Kitchen Chocolate Cake vs. Other Classic Chocolate Cake Recipes
Not every chocolate cake is built the same way. Here is how this recipe compares to other popular formats.
| Recipe Style | Cocoa or Chocolate | Fat Type | Texture | Moisture Level | Best For |
|---|---|---|---|---|---|
| Preppy Kitchen style | Cocoa powder | Oil + buttermilk | Tender, fudgy | Very high | Layer cakes, birthdays |
| Devil’s food cake | Cocoa powder | Butter | Lighter, fluffier | Medium-high | Casual celebrations |
| German chocolate cake | Sweet baking chocolate | Butter | Dense | Medium | Coconut-pecan frosting fans |
| Flourless chocolate cake | Dark chocolate | Butter | Extremely dense, fudgy | Very high | Dinner party dessert |
| Mug cake | Cocoa powder | Oil | Spongey, soft | Low-medium | Quick single serving |
The Preppy Kitchen approach lands in the ideal sweet spot for most occasions. It has the visual drama of a bakery-style cake with the approachability of a from-scratch recipe anyone can execute at home.
Pro Tips for Getting It Right Every Time
These are the details that separate a good chocolate cake from a legendary one.
- Room temperature ingredients matter. Cold eggs or cold buttermilk can cause the batter to curdle or mix unevenly. Take them out an hour before baking.
- Do not overmix. Once the dry and wet ingredients are combined, stir just until no dry streaks remain. Overmixing develops gluten and makes the cake tough.
- Measure flour correctly. Spoon flour into the measuring cup and level it off with a knife. Scooping directly from the bag packs the flour and can add 20 percent more than intended. Better yet, use a scale.
- Use good cocoa. The difference between generic store-brand cocoa and a quality Dutch-process or natural cocoa is significant. The rich cocoa flavor in this cake depends on quality raw material.
- Cool completely before frosting. A warm cake will melt even a stiff buttercream. Be patient. Put the layers in the refrigerator for 20 minutes if you are in a hurry.
- Frost a chilled cake. If your frosted cake starts looking streaky or the crumbs are dragging through, pop it in the fridge for 15 minutes and try again with a clean spatula.
How to Make This Cake Ahead and Freeze It
This is genuinely one of the best things about this recipe: it freezes beautifully, making it ideal for stress-free celebration planning.
Freezing the layers: Let the baked and cooled cake layers sit uncovered in the freezer for one hour until firm. Then wrap each layer tightly in two layers of plastic wrap followed by a layer of aluminum foil. Label with the date. Frozen layers keep well for up to 3 months.
Thawing: Transfer wrapped layers to the refrigerator overnight to thaw slowly. This prevents condensation from making the surface wet and sticky. Frost while they are still cold from the fridge.
Freezing the frosted cake: A fully assembled and frosted cake can also be frozen. Place it uncovered in the freezer until the frosting firms up, then wrap carefully. Thaw overnight in the refrigerator.
Storing leftovers: Keep frosted cake slices in an airtight container at room temperature for up to 2 days, or refrigerated for up to 5 days. The oil-based crumb stays tender even when cold, which is one of the qualities that makes this recipe so practical as a homemade dessert for gatherings.
Chocolate Ganache as a Frosting Alternative
The chocolate buttercream is spectacular, but it is worth knowing your options. Chocolate ganache, made by pouring hot cream over chopped dark chocolate and stirring until smooth, offers a sleeker, shinier finish that works especially well as a glaze dripped over the top of the frosted cake.
For a ganache drip, let it cool until it is thick enough to coat a spoon but still pourable. Pour it over the center of the chilled frosted cake and let it run over the edges naturally. The contrast between the matte buttercream sides and the glossy ganache drips is visually stunning and requires almost no technique.
Other frosting options that pair well with this cake include whipped cream cheese frosting (lighter and tangy), Swiss meringue buttercream (silkier and less sweet), and even a simple dusting of powdered sugar on a unfrosted single layer for a more casual presentation.
Why Preppy Kitchen Recipes Have a Cult Following
John Kanell approaches baking the way a good teacher approaches a lesson: with precision, warmth, and a genuine desire for the person on the other side to succeed. His recipes, including the now-famous Preppy Kitchen cinnamon rolls, are tested rigorously and written with enough detail that a nervous beginner can follow along without anxiety, while still offering enough nuance to satisfy an experienced baker.
The Preppy Kitchen cinnamon rolls, much like this chocolate cake, became internet favorites not through hype but through repetition. People made them, they worked, and people told their friends. That word-of-mouth quality is earned through consistent, reliable results, and it is a standard that runs through every recipe associated with the brand.
For those who are newer to the lifestyle and baking world around Preppy Kitchen, resources like Preppyglow offer a solid introduction to the broader preppy aesthetic that ties these recipes together.
Frequently Asked Questions
Why does my chocolate cake always turn out dry?
Dry chocolate cake is almost always the result of overbaking, too much flour, or not enough fat. Bake to internal moisture rather than a fixed time. A toothpick with a few moist crumbs is perfect. If you are measuring flour by scooping, switch to spooning into the cup or weighing on a scale. And make sure your recipe includes an oil component alongside any butter.
Can I use hot cocoa mix instead of cocoa powder?
No. Hot cocoa mix contains added sugar, powdered milk, and often artificial flavoring. It will throw off the sugar balance and dilute the cocoa flavor significantly. Use pure unsweetened cocoa powder, either Dutch-process or natural.
How do I store leftover chocolate cake?
Frosted cake keeps at room temperature in an airtight container for 2 days. Refrigerated, it stays good for up to 5 days. If the frosting looks dull after refrigeration, let the slice sit at room temperature for 20 minutes before serving. The texture and flavor return to their best at room temperature.
What is the difference between baking soda and baking powder in this recipe?
Both are leavening agents, but they work differently. Baking soda requires an acid in the batter (like buttermilk) to activate. Baking powder contains its own acid and activates with moisture and heat. Using both gives the cake a more complex rise and helps it stay tender without being too dense. Removing or replacing one without adjusting the other will affect both texture and flavor.
Can I make this as a single-layer sheet cake instead of a layer cake?
Absolutely. Pour all the batter into a greased 9×13-inch pan. Bake at 350°F for approximately 35 to 40 minutes, checking with a toothpick starting at the 30-minute mark. Frost directly in the pan or on a wire rack once fully cooled. This format is less visually dramatic but just as delicious and significantly easier to transport.
What frosting works best besides chocolate buttercream?
Vanilla buttercream is the classic pairing for a visual contrast. Cream cheese frosting adds a pleasant tang that cuts through the richness of the cake. Swiss meringue buttercream is less sweet and more refined if you find traditional powdered sugar frosting too heavy. For something minimal, a warm chocolate ganache poured over the top with no sides frosted creates a sleek, professional look with half the effort.