How to Do Eyebrows in 2026: A Simple Step-by-Step Guide
Your eyebrows frame your whole face, and getting them right can make your entire look feel put-together — even on the days you’re wearing zero other makeup. If you’ve ever wondered how to do eyebrows the right way, whether that means shaping them at home, filling in thin patches, or just keeping them neat day to day, this guide breaks down every step in plain, practical terms.
By the time you’re done reading, you’ll know how to map your brow shape to your face, which tools genuinely matter, and how to fill, groom, and set your brows so they look full and natural instead of harsh or obviously drawn on. This is the kind of foundational skill covered under our Glow Beauty Lab hub, where beauty basics get broken down step by step.
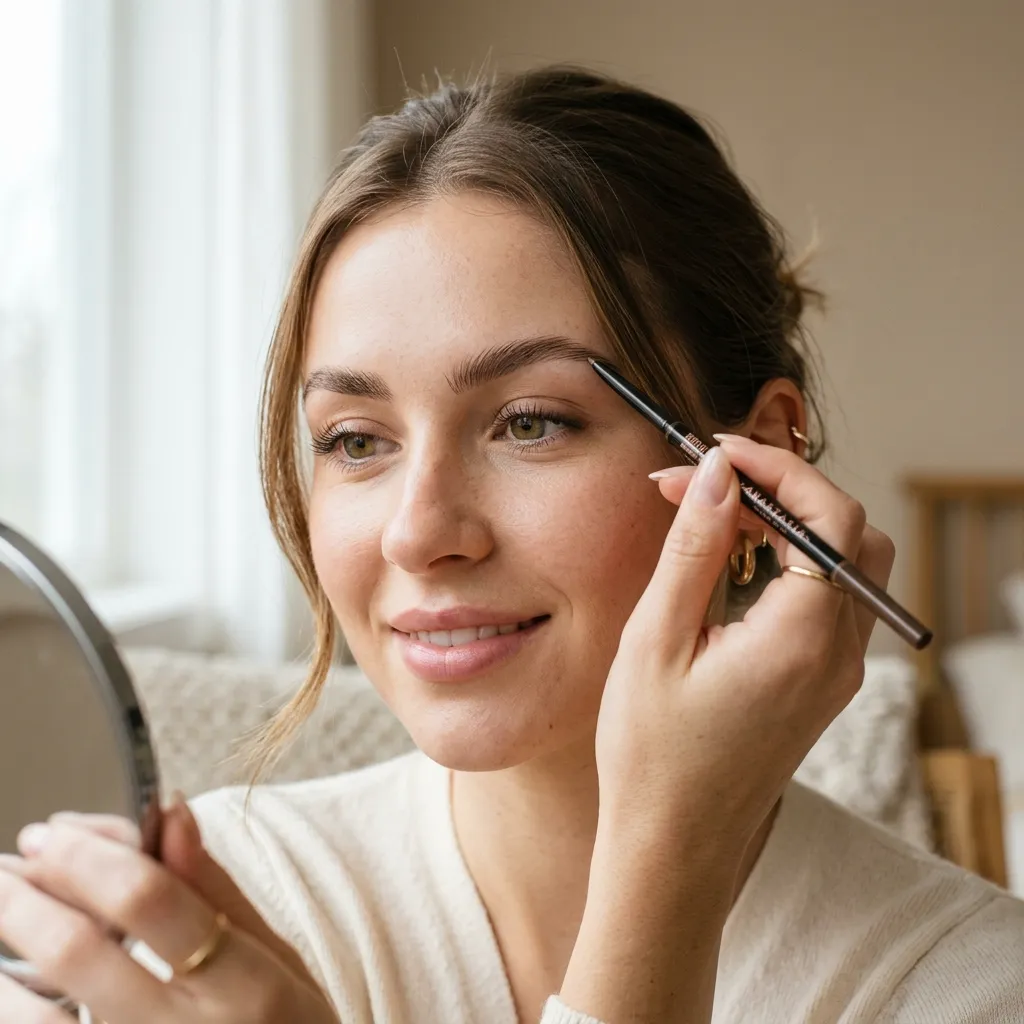
Why Getting Your Eyebrows Right Actually Matters
Few features do as much work for your face as your eyebrows. They frame your eyes, balance out your face shape, and set the tone for your whole makeup look — which is exactly why so many people search for how to do eyebrows correctly instead of just winging it with a pencil.
A brow that’s badly shaped or overfilled can throw off an otherwise perfect makeup look, while a well-groomed, naturally filled brow can make even a bare face look intentional and pulled together. Getting this right has less to do with chasing trends and more to do with understanding your own natural brow shape and working with it instead of against it.
This guide is built for real life: no professional tools, no salon appointment needed — just a clear process you can repeat at home. Everything here is based on techniques pros actually use, simplified into steps that work with an ordinary bathroom mirror and a handful of affordable tools — no expensive kit or prior experience required. Whether you’re dealing with sparse eyebrows, patchy growth, or just want a reliable eyebrow styling guide to come back to every morning, the steps below work for any brow type.
Common Eyebrow Mistakes to Watch For
Before jumping into the process, it helps to know what tends to go wrong:
- Over-plucking, which strips away natural fullness and can take months to grow back
- Drawing a shape that doesn’t line up with your natural brow bone or face shape
- Using a product that’s too dark, which creates a harsh, unnatural line
- Skipping grooming steps like trimming, which leaves brows looking messy even when filled in
- Filling brows in as one flat block instead of building texture with individual strokes
Knowing these pitfalls upfront is the first step toward learning how to do eyebrows in a way that reads as natural instead of visibly “done.”
Worth remembering: trends come and go, but good brow fundamentals don’t. Thin, over-plucked brows were once the standard, then the pendulum swung to thick, natural “boy brows,” and today most people land somewhere in the middle — full but tidy, defined but not severe. Chasing whatever shape is trending online without factoring in your own natural growth pattern is one of the quickest ways to end up with brows that don’t actually suit you. This guide isn’t trying to give you someone else’s brows — it’s here to help you work with the ones you’ve already got.
Hair color and skin undertone matter more than people realize, too. Someone with naturally dark, thick brow hair needs a very different filling approach than someone with fine, blonde, or gray brow hair, and picking the right product shade matters just as much as technique. More on adjusting for that in the product comparison section below.
Eyebrow Mapping: Finding Your Ideal Shape

Eyebrow mapping means figuring out exactly where your brows should start, arch, and end based on your own facial structure. It’s the single most useful technique for anyone learning how to shape eyebrows for the first time, because it takes the guesswork out entirely.
Here’s the standard mapping method, using a spoolie brush or a thin makeup brush as a ruler:
- Starting point: Hold the brush straight up against the side of your nose. Wherever it meets your brow bone is where your brow should start.
- Arch point: Angle the brush from the outer edge of your nose through the outer edge of your iris (looking straight ahead). Where it crosses your brow bone marks the highest point of your arch.
- Ending point: Angle the brush from the outer edge of your nose through the outer corner of your eye. Where it crosses your brow is where it should end.
Lightly mark these three points with an eyebrow pencil, then connect them with a soft, slightly curved line rather than a sharp geometric one. This mapping method works no matter your face shape, and it’s the foundation every professional brow technique is built on.
Matching Your Brow Shape to Your Face Shape
The mapping method above gets your proportions right, but your natural face shape can help guide how much arch and length suits you best:
- Round faces tend to look best with a higher, more defined arch that adds length and structure.
- Square faces often suit a softly curved brow that offsets a strong jawline.
- Oval faces have the most flexibility and can carry off most brow shapes.
- Heart-shaped faces usually pair well with a soft, rounded arch that doesn’t overpower a narrower chin.
Treat these as starting points, not hard rules — your own preference and natural hair growth pattern should always win out over a rigid formula.
Picking the Right Shade for Your Brow Color
Even a perfectly mapped shape can look off if the product shade doesn’t match your natural hair color. A rule of thumb that works for most people: go one shade lighter than your natural brow hair if you’re blonde or light brunette, and match it exactly (or go one shade lighter, never darker) if your hair is dark brown or black. Going too dark is the most common shade mistake out there, and it’s why so many filled-in brows look heavy or fake in photos even when the shape itself is spot-on.
If your brow hair has started going gray, a warm taupe or soft brown will look far more natural than a true gray or black product, and it’ll blend better with the surrounding hairs. Swatching a small amount on the back of your hand next to your actual brow hair before applying it fully can save you from a shade mismatch.
Eyebrow Shaping for Beginners: Tools and Technique
Once you’ve mapped your ideal shape, the next step in eyebrow shaping for beginners is removing any hair that falls outside it. Here’s what you’ll need and how to use each tool safely.
Tools You’ll Need
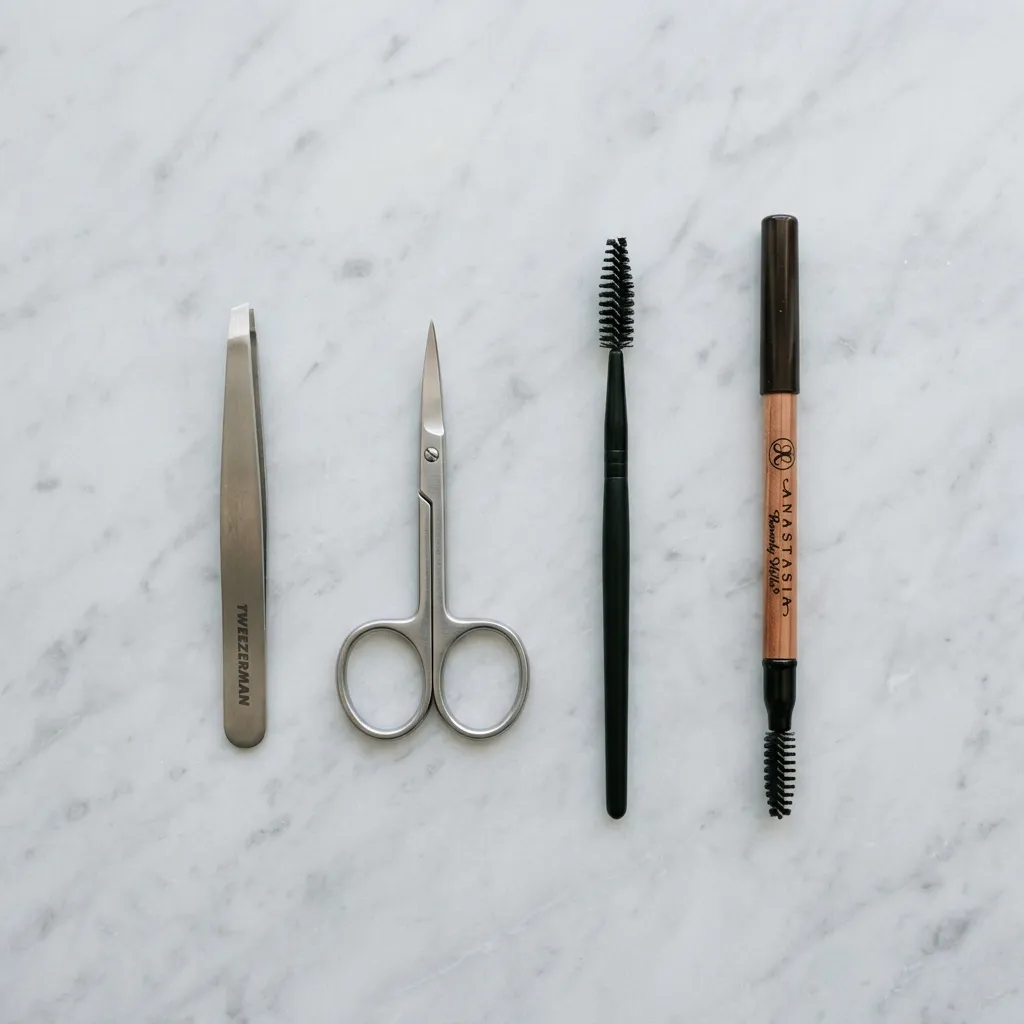
- Tweezers — for pulling individual stray hairs with precision
- Brow scissors — for trimming hairs that grow too long or stick out
- Brow razor — for cleaning up fine peach fuzz around the shape (optional, and best used with care)
- A spoolie brush — for brushing hairs upward before trimming and checking their natural growth direction
- Good lighting and a magnifying mirror, if you have one
None of this needs to be expensive. A basic slanted tweezer and a small pair of scissors — both easy to grab at any drugstore — are enough to get professional-looking results as long as your technique is right. Fancier tools are worth the upgrade only once you’ve built confidence with the basics.
Step-by-Step Shaping Process
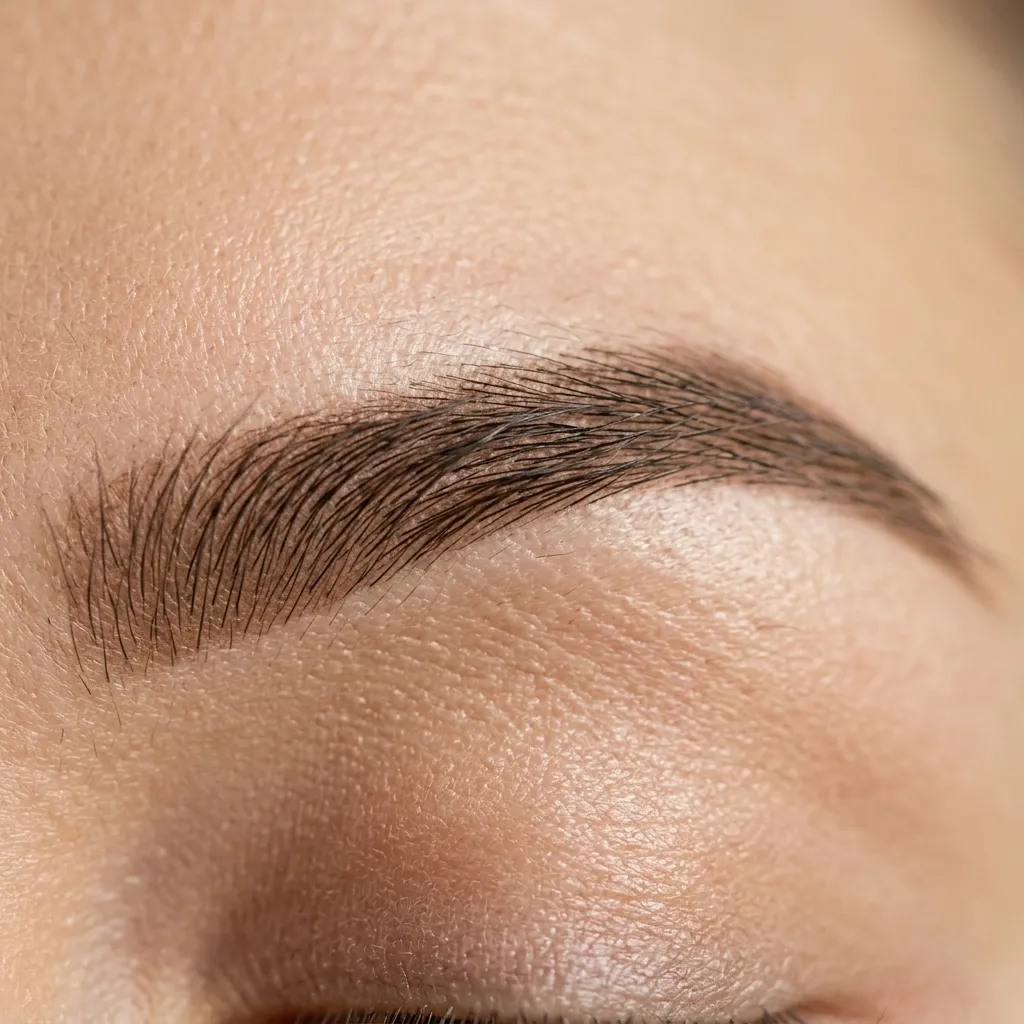
- Brush your brows upward with a spoolie to see their true length and natural growth direction.
- Trim first, then pluck. Using brow scissors, snip only the hairs that clearly extend above your mapped line. Trim conservatively — you can always take off more, but hair doesn’t grow back on command.
- Tweeze stray hairs above and below the brow line, working with the direction of hair growth to avoid irritation. Stay close to the points you mapped earlier.
- Pause and check symmetry every few plucks. Your brows don’t need to be identical twins, but they should sit at a similar height and follow a similar arch.
- Tidy up between the brows if there’s noticeable hair bridging the two, while keeping a natural gap.
If this is your first time shaping, go slowly and remove less than you think you need — you can always tweeze more later, but overcorrecting is the most common beginner mistake.
How to Fill In Eyebrows for a Natural, Full Look
Once your shape is set, filling technique is what decides whether your brows read as natural or obviously drawn on. This is really what most people mean when they search how to fill in eyebrows.
Choosing the Right Product
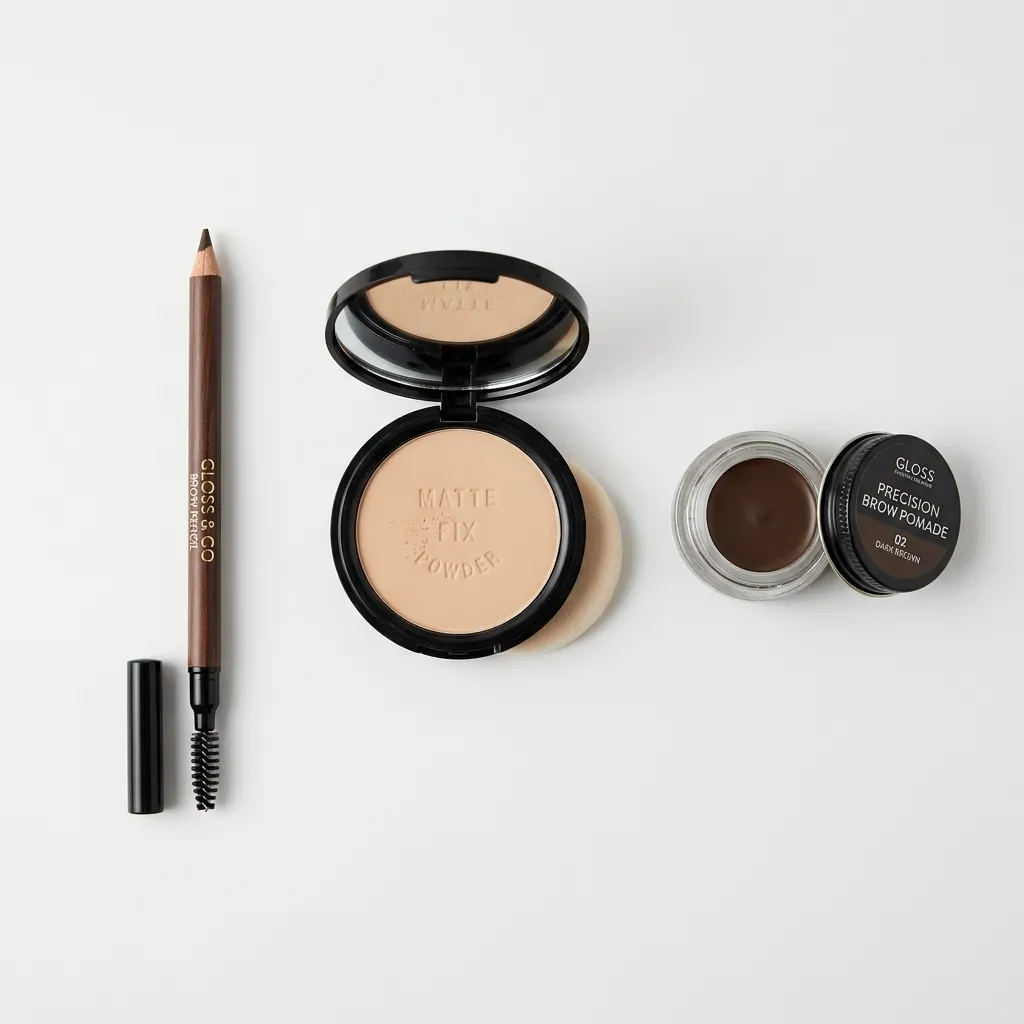
Different eyebrow filling techniques call for different products, depending on the finish you’re after:
- Eyebrow pencil — a great pick for beginners since it allows precise, hair-like strokes and is easy to control.
- Eyebrow powder — gives a softer, more diffused finish, good for a natural daytime look.
- Brow pomade — long-wearing and highly pigmented, better suited to people comfortable with precise application or a bolder result.
- Tinted brow gel — adds a light tint while holding hairs in place, good for low-maintenance days or brows that just need a slight boost.
- Clear brow gel — no color, just hold, ideal for naturally full brows that only need grooming.
Step-by-Step Filling Method
- Brush brows upward and outward with a spoolie so you can clearly see any gaps.
- Use short, hair-like strokes rather than solid lines, following your natural hair direction. This is the real difference between natural-looking brows and an obvious filled-in block.
- Focus product on sparse areas first — usually the front and the tail — instead of applying evenly across the whole brow.
- Keep the front of the brow lightly blended, since this area should always look softer and less defined than the arch and tail.
- Set with clear or tinted brow gel to hold hairs in place and blend away any harsh pencil lines.
- Sharpen the edges with concealer. With a small angled brush, dab a touch of concealer just above and below the brow line to define the shape and cover any pencil marks that strayed outside your mapped points. Blend gently with a fingertip so it doesn’t leave a harsh, cut-out edge.
That final concealer step is what gives professionally filled brows their crisp, finished look, and it’s a step most beginners skip entirely. It takes under a minute but noticeably sharpens the overall result.
This layered method — light strokes, targeted placement, and a setting gel — is the most reliable way to get natural eyebrow makeup that holds up all day without looking overdone.
Comparing Eyebrow Filling Products: Which One Is Right for You?
Since your product choice has the biggest impact on your final look, here’s a direct comparison to help you decide what fits your routine and comfort level.
| Product | Best For | Finish | Ease of Use | Wear Time |
|---|---|---|---|---|
| Eyebrow Pencil | Beginners, precise hair strokes | Natural, defined | Easy | 6–8 hours |
| Eyebrow Powder | Soft, diffused daytime look | Soft, blended | Easy | 6–8 hours |
| Brow Pomade | Bold, long-lasting definition | Sharp, precise | Moderate | 10–12 hours |
| Tinted Brow Gel | Low-maintenance color boost | Natural, tinted | Very Easy | 8–10 hours |
| Clear Brow Gel | Grooming only, no color | Natural, glossy | Very Easy | 8–10 hours |
For most people learning how to do eyebrows for the first time, pairing a pencil with a clear or tinted gel gives the most forgiving, natural-looking results while you build up your technique.
Daily Eyebrow Grooming and Maintenance Tips
Shaping and filling are only part of the story — ongoing eyebrow grooming tips are what keep your brows looking consistent between shaping sessions.
- Brush your brows every morning with a spoolie before applying anything, even on no-makeup days, to keep hairs trained in one direction.
- Trim every two to three weeks if your brow hair grows long or fast, using brow scissors instead of tweezers for length control.
- Tweeze only stray hairs between full shaping sessions, sticking to your original mapped shape instead of re-shaping from scratch each time.
- Condition your brows occasionally with a bit of castor oil or a brow serum if you’re trying to encourage fuller growth in sparse spots.
- Watch for habitual over-plucking. If you’re removing hair every day, you’re probably drifting from your original shape — recheck your mapping points now and then.
This kind of low-effort, consistent upkeep is what separates naturally polished brows from brows that only look good on the day they were freshly shaped.

Building a Long-Term Brow Care Routine
Good brows aren’t a one-time fix — they’re the result of a small, consistent routine repeated over weeks and months. Think about your brow care across three timeframes:
- Daily (30 seconds): Brush upward with a spoolie, add a light touch of gel or pencil if needed, and check for any hairs standing out obviously.
- Weekly: Take a closer look under good lighting for hairs that have grown past your mapped shape, and trim or tweeze as needed instead of waiting for a full reshape.
- Monthly: Do a full mapping check-in, since brow shape can shift slightly as hair grows in at different rates. Re-confirm your start, arch, and end points and adjust your shaping from there.
This three-tier approach heads off the two most common brow problems: letting the shape drift too far between sessions, or overcorrecting everything at once in one aggressive shaping session. Small, regular adjustments are always easier to manage than trying to undo months of neglect in one sitting.
It’s also worth building some seasonal flexibility into your routine. Brow hair can grow a bit faster in warmer months for some people, and the skin around the brow area can be more sensitive after sun exposure, so easing up on tweezing frequency during that time helps avoid irritation.
If you’re also refining the rest of your everyday makeup, our Complete Beginner’s Face Makeup Routine from the Glow Beauty Lab hub is a good next step once your brow routine feels solid.
Frequently Asked Questions About How to Do Eyebrows
How often should I shape my eyebrows?
Most people do well with a full shaping session every 3–4 weeks, with light tweezing of stray hairs in between to keep the shape intact.
What’s the best tool for beginners learning how to do eyebrows at home?
A spoolie brush, a pair of slanted tweezers, and an eyebrow pencil cover almost everything a beginner needs to get started safely.
Should I use a pencil or powder to fill in my eyebrows?
Pencil is generally easier for beginners since it allows precise, hair-like strokes, while powder gives a softer, more diffused finish once you’re comfortable with basic shaping.
How do I stop my eyebrows from looking too harsh after filling them in?
Use short, light strokes instead of solid lines, keep the front of the brow softer than the arch and tail, and always set with a clear or tinted brow gel to blend everything together.
Can I shape my eyebrows without going to a salon?
Yes. Using the eyebrow mapping method with a spoolie or thin brush, most people can safely shape their own brows at home with tweezers and brow scissors.
Why do my eyebrows look uneven even after shaping them?
Minor asymmetry is completely normal since most people’s face shape isn’t perfectly symmetrical. Focus on matching height and general arch position rather than making both brows identical.
How do I fix eyebrows that are too thin from over-plucking?
Stop tweezing entirely and let the hair grow back for several weeks, filling in gaps with light, hair-like pencil strokes in the meantime. A brow growth serum with conditioning ingredients can help speed up regrowth in sparse areas, though patience is usually the biggest factor.
What’s the difference between eyebrow gel and eyebrow pomade?
Brow gel is lighter and mainly used to hold hairs in place with a soft tint, while pomade is thicker and more pigmented, applied with a brush for sharper, more defined strokes — pomade generally lasts longer but takes more precision to apply well.
Conclusion: Building a Reliable Eyebrow Routine
Learning how to do eyebrows well really comes down to three repeatable steps: mapping your natural shape, shaping conservatively with the right tools, and filling with light, hair-like strokes rather than solid color. Once you understand your own brow shape and growth pattern, the whole process becomes quick and consistent instead of something to dread every morning.
If there’s one thing to take away from this guide, it’s this: start with mapping, shape slowly and check your progress often, and pick a filling product that matches your comfort level and the finish you’re going for. With the steps here, you’ll have a dependable eyebrow routine that holds up whether you’re getting ready for a busy day or a night out — one that gets easier the more you practice it.
