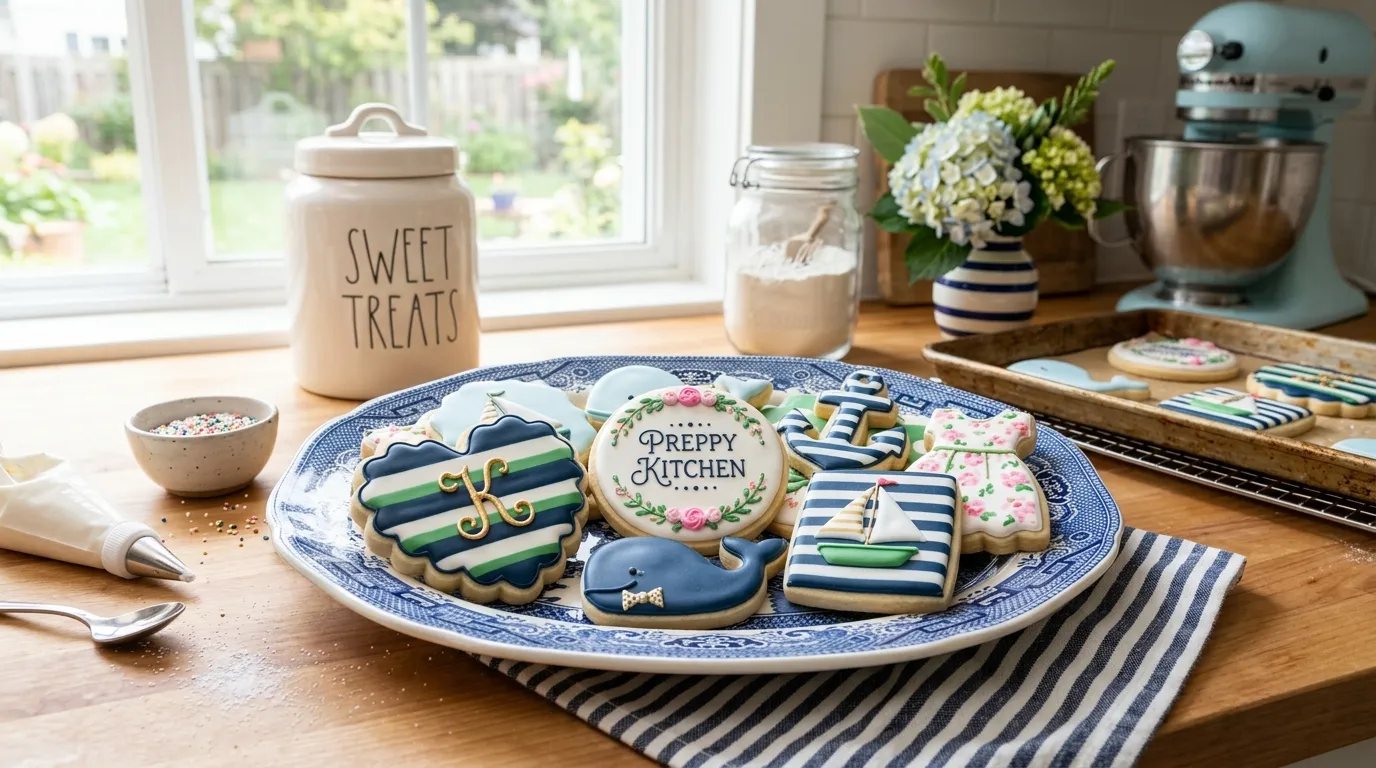
Preppy Kitchen Sugar Cookies: Soft, Decorated & Absolutely Delicious
There is something almost nostalgic about a perfectly soft, buttery sugar cookie sitting on a parchment-lined tray, still slightly warm, waiting to be iced. But not all sugar cookies are created equal. Some spread into flat, crispy discs. Others puff up and lose every sharp edge of the cutter. The ones that actually nail the balance between structure and softness? Those come from a handful of techniques most beginner bakers overlook entirely.
Preppy Kitchen sugar cookies, made famous by baker and content creator John Kanell, have earned a reputation for being reliable, beautiful, and genuinely delicious. Whether you are planning Christmas cookies for a holiday party or simply want a classic homemade dessert that holds its shape and tastes like a bakery made it, this guide breaks down everything you need to know: the ingredients, the method, the science behind the softness, and the decorating strategies that make these cut-out cookies look like they belong in a shop window.
What Makes Preppy Kitchen Sugar Cookies So Popular
John Kanell, the creator behind Preppy Kitchen, has spent years building a reputation for recipes that are both approachable and high quality. His sugar cookie recipe became a widely shared favorite because it solves the most frustrating problems home bakers encounter: spreading, cracking dough, and cookies that taste more like cardboard than vanilla. The result is a no-spread sugar cookie with a tender crumb, crisp edges, and a flavor profile that is rich without being heavy.
The broader Preppy Kitchen aesthetic, which you can explore in depth at Preppyglow, blends polish with practicality. That same sensibility shows up in the cookie recipe: everything has a reason for being there, and nothing is excessive.
These are not drop cookies or simple shortbread. They are rolled sugar cookies, made from chilled dough, cut with cookie cutters into shapes, and decorated with royal icing or a simpler frosted sugar cookie glaze. The process takes a little patience, but the payoff is substantial.
Essential Ingredients and What Each One Does
Understanding your ingredients before you start baking is what separates a good batch from a perfect one. Preppy Kitchen sugar cookies rely on a short but precise list of components, and each one matters.
The Core Ingredient Breakdown
Butter: Unsalted butter, at room temperature, forms the backbone of the dough. It creates that rich, buttery flavor and helps produce a soft baked cookie with a slightly dense crumb. Softened butter (not melted) is critical; melted butter causes spreading.
Granulated sugar: Standard granulated sugar gives sweetness and helps with the structure. The ratio of sugar to flour affects both flavor and texture.
Eggs: One whole egg provides moisture and binds the dough. Some versions also include an egg yolk for extra richness.
Vanilla extract: This is non-negotiable for classic dessert flavor. Use pure vanilla extract, not imitation, for a cleaner, more rounded taste.
Almond extract: This is the not-so-secret ingredient in many bakery style cookies, and Preppy Kitchen sugar cookies are no exception. Even a small amount, typically a quarter teaspoon, adds a subtle warmth that makes people ask what that flavor is. It transforms these from plain butter sugar cookies into something noticeably special.
All-purpose flour: The structure of the cookie. Too much flour makes the dough stiff and prone to cracking; too little makes it sticky and the cookies will spread. Measuring by weight (rather than volume) produces the most consistent results.
Baking powder: A small amount lifts the cookie just enough to keep it from being dense. Too much causes puffing and spreading, which destroys the crisp edges needed for decorated sugar cookies.
Salt: Balances the sweetness and enhances every other flavor in the dough.
A Quick Comparison: Butter vs. Shortening in Sugar Cookies
| Factor | Butter | Shortening |
|---|---|---|
| Flavor | Rich, complex, classic | Neutral, less depth |
| Texture | Slightly denser, soft | Lighter, sometimes crumblier |
| Spread | Moderate (manageable with chilling) | Less spread |
| Color | Slight golden tint | Paler cookie |
| Recommendation | Best for flavor and appearance | Use only if avoiding dairy |
For homemade sugar cookies where flavor is the priority, butter wins every time.
How to Make Preppy Kitchen Sugar Cookies: The Full Method
Preparing and Chilling the Cookie Dough
Start by creaming the room-temperature butter with granulated sugar until the mixture is pale and fluffy. This usually takes about three to four minutes with a stand mixer or hand mixer. Do not rush this step; proper creaming incorporates air into the dough, which affects the final texture.
Add the egg, vanilla extract, and almond extract. Mix until just combined. In a separate bowl, whisk together the all-purpose flour, baking powder, and salt. Add the dry ingredients to the wet mixture gradually, mixing on low speed until a soft dough forms.
Here is where most people make their first mistake: they try to roll the dough immediately. Chilled dough is the foundation of no-spread cookies. Flatten the dough into a disc, wrap it tightly in plastic wrap, and refrigerate for at least one hour, though overnight produces even better results. Cold butter stays firm in the oven longer, which means the cookies hold their shape before the structure sets.
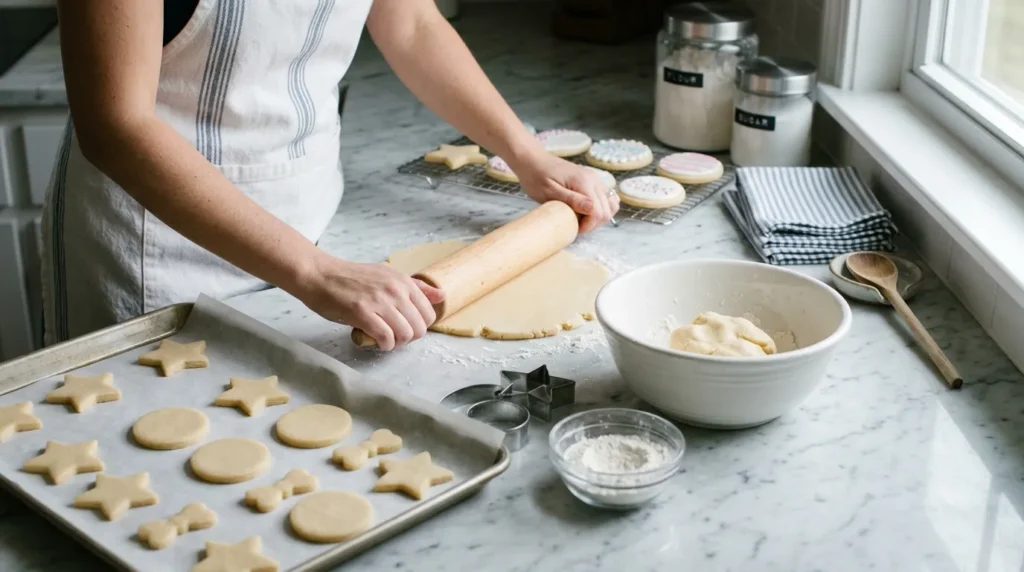
Rolling, Cutting, and Baking
When ready to roll, lightly flour a clean surface and roll the dough to about a quarter inch thickness. Thicker dough produces softer, chewier sugar cookies; thinner dough bakes crispier. Use cookie cutters to cut shapes, pressing firmly and cleanly, then transfer to a parchment-lined baking sheet.
Return the cut cookies to the refrigerator for ten to fifteen minutes before baking. This second chill firms up the edges and further reduces spreading during baking.
Bake at 350 degrees Fahrenheit (175 degrees Celsius) until the edges are just barely golden and the center still looks slightly underdone. The cookies will continue setting as they cool on the pan. Overbaking is the most common mistake, and it results in hard, dry cookies rather than soft baked ones.
Scaling the Recipe for Different Cookie Sizes
Cookie yield depends entirely on thickness and the size of your cutters. As a general rule:
- Small cutters (2 inches): expect 36 to 48 cookies per standard batch
- Medium cutters (3 inches): expect 24 to 30 cookies
- Large cutters (4 to 5 inches): expect 12 to 18 cookies
For a party or holiday baking event requiring large quantities, doubling the dough is straightforward. Divide it into multiple discs before chilling to make rolling more manageable.
Tips for Cutting Out Perfect Shapes Every Time
Getting clean edges on cut-out cookies requires a few small adjustments most recipes skip over.
- Flour the cutter lightly between each cut. This prevents sticking and keeps the edges sharp.
- Press straight down without twisting the cutter. Twisting seals the dough edges and creates slightly misshapen outlines.
- After cutting, use a thin spatula or bench scraper to transfer cookies to the baking sheet without stretching them.
- Re-roll scraps once. After that, the dough becomes overworked and tougher. Keep scraps refrigerated between uses.
- If the dough gets too warm and sticky during rolling, slide the whole sheet of rolled dough onto a baking tray and refrigerate it for ten minutes before cutting.
The Science Behind No-Spread Cookies
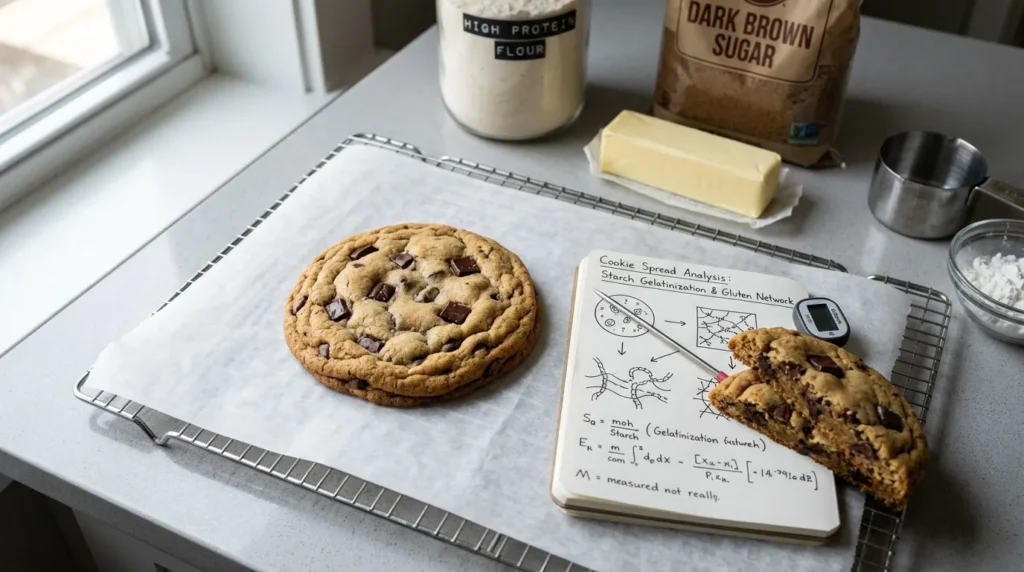
Most cookie spread problems trace back to one of three causes: butter that is too warm, dough that has not been chilled, or too much leavening. Preppy Kitchen sugar cookies address all three directly.
Chilled dough keeps the fat cold, which means it does not melt and spread before the flour and egg have set the structure. The relatively modest amount of baking powder prevents excessive puffing. And rolling the dough to a consistent thickness ensures even baking across the entire sheet.
The result is a cookie that comes out of the oven looking almost identical to when it went in: sharp edges, flat surface, no doming, and no pooling at the edges. That flat surface is exactly what you need for clean royal icing decoration.
Decorating Options: From Simple to Spectacular
Frosted Sugar Cookies with Basic Glaze
For a simple finish, mix powdered sugar with a small amount of milk or cream and a drop of vanilla extract until you reach a thick, spreadable consistency. This homemade icing is not pipeable, but it is fast and creates a clean, matte surface. Add food coloring to match a theme. This style works well for casual holiday cookies or kids baking projects.
Royal Icing for Professional Results
Royal icing is made from powdered sugar, meringue powder (or pasteurized egg whites), and water. It dries completely hard, which makes it ideal for stacking, packaging, and intricate cookie decorating designs. Thin royal icing to a “flood” consistency for filling shapes, and keep a thicker consistency for outlining and detail work.
The technique used on classic Preppy Kitchen decorated sugar cookies typically involves outlining the cookie first with stiffer icing, allowing it to set briefly, then flooding the center with thinner icing. Details, textures, and lettering come after the flood layer has dried.
Additional Decorating Ideas
- Sanding sugar or sprinkles applied while icing is wet
- Luster dust brushed over dried icing for a metallic finish
- Edible markers for fine details
- Two-tone flooding for a marbled effect
- Transfer sheets for printed patterns
For festive cookies at Christmas or other seasonal events, the combination of royal icing with themed cutters (stars, trees, snowflakes, mittens) produces results that look genuinely impressive even for first-time decorators.
Can You Freeze Sugar Cookie Dough and Baked Cookies?
Yes, and this is one of the most useful things to know about this recipe. Both the raw dough and the finished cookies freeze exceptionally well.
Freezing the dough: Wrap the dough disc tightly in plastic wrap, then place it in a zip-lock freezer bag. It keeps well for up to three months. Thaw overnight in the refrigerator before rolling.
Freezing baked, undecorated cookies: Layer them between sheets of parchment paper in an airtight container. They freeze well for up to three months. Decorate after thawing.
Freezing decorated cookies: This is possible but depends on the icing. Royal icing holds up well in the freezer. Simple glaze can soften slightly after thawing. If freezing decorated cookies, allow them to thaw at room temperature inside the sealed container to prevent condensation from forming on the surface and dissolving the icing.
For parties and events, this make-ahead strategy is invaluable. Bake the cookies up to a month in advance, freeze them plain, and decorate within a day or two of the event. This approach keeps everything fresh without the stress of baking and decorating on the same day.
How Many Days Ahead Can You Bake for a Party?
Undecorated cookies baked and stored in an airtight container at room temperature stay fresh for up to one week. Decorated cookies with royal icing also last about a week at room temperature, though royal icing actually seals the cookie and can help preserve freshness slightly longer.
For very large orders, the most practical timeline is:
- Three to four weeks before: bake and freeze undecorated cookies
- Two days before: thaw and decorate
- Day of the event: package and serve
This approach works for Christmas cookies, birthday parties, wedding favors, and any other occasion where quantity and freshness both matter.
How to Store Sugar Cookies Properly

Room temperature storage in an airtight container is ideal for most situations. Avoid stacking freshly decorated cookies before the icing has fully set; royal icing can take eight to twelve hours to dry completely depending on humidity. Once dry, cookies can be stacked with parchment paper between layers.
Refrigeration is generally not recommended for decorated cookies because humidity can cause condensation and affect the icing surface. The exception is if you live in a very warm climate or are storing them for more than a week.
Troubleshooting Common Sugar Cookie Problems
Why Is My Sugar Cookie Dough Sticky?
Sticky dough usually means the butter was too warm when you started, or the dough has warmed up during handling. The fix is simple: wrap the dough and refrigerate for thirty minutes. Do not add more flour to compensate; this changes the texture of the final cookie and can lead to a dry, crumbly result.
If the dough is consistently too sticky even after chilling, check your flour measurement. Scooping flour directly from the bag packs it tightly and can result in significantly less flour than the recipe intends. Spoon flour into the measuring cup and level it off, or weigh it for accuracy.
Why Did My Dough Crack When Rolling It Out?
Cracking happens when the dough is too cold or too dry. If you just pulled it from the refrigerator, let it sit at room temperature for five to ten minutes before rolling. If cracking is persistent across multiple batches, the flour ratio may be slightly off.
Why Did My Cookies Puff and Spread?
Puffing and spreading together usually point to too much baking powder or butter that was too soft. Double-check the baking powder measurement; even a small excess makes a noticeable difference. If the butter is the problem, make sure it is cool room temperature, meaning it holds its shape but yields slightly when pressed. If your kitchen is warm, chill the butter-sugar mixture for fifteen minutes before adding the eggs.
Spread without puffing often traces back to skipping the chilling step or placing dough on a warm baking sheet.
Can I Use Gluten-Free Flour?
A 1:1 gluten-free all-purpose flour blend can be substituted with generally good results. Look for blends that contain xanthan gum, which helps replicate the binding role gluten normally plays. The texture will be slightly different, and the dough may be more crumbly when rolling, but the finished cookie is still enjoyable. Chilling the dough is especially important with gluten-free versions.
Lesser-Known Insights Most Sugar Cookie Recipes Skip
Most baking tutorials treat sugar cookies as a beginner recipe, which they are in terms of complexity. But there are a few things experienced bakers know that rarely make it into standard instructions.
Egg yolk only batches: Using two egg yolks instead of one whole egg produces a richer, more tender crumb and slightly less spread. This is a small swap with a noticeable result.
Brown butter: Browning the butter before using it adds a nutty, caramelized undertone to the dough. It is not traditional for classic vanilla sugar cookies, but it creates depth of flavor that elevates the whole cookie.
Flavor pairing: The almond extract and vanilla extract combination is standard Preppy Kitchen territory, but citrus zest works just as well alongside vanilla. Lemon zest in summer or orange zest for holiday baking adds brightness without changing the texture.
Resting after icing: Freshly decorated cookies are tempting, but the flavor actually improves after 24 hours. The icing seals the moisture in, and the cookie softens slightly to a perfect chewy texture by the next day.
A Note on Tools and Equipment
You do not need an extensive baking kit for this recipe, but a few tools genuinely make a difference.
- A stand mixer or hand mixer for creaming butter
- A rolling pin with thickness rings or guides for even dough
- Offset spatula for transferring cut cookies
- Cookie cutters in shapes relevant to the occasion
- Piping bags and tips for royal icing detail work
- Parchment paper (not wax paper) for lining baking sheets
- A kitchen scale for accurate flour measurement
The style and finish of Preppy Kitchen decorated sugar cookies, which you can explore as part of the broader preppy aesthetic and baking culture at Preppyglow, is largely about that last detail: precision in measurement and patience in execution.
Nutrition Overview (Per Standard Cookie, Approximate)
These values vary depending on cookie size and icing used.
| Nutrient | Amount (approx.) |
|---|---|
| Calories | 140 to 180 kcal |
| Total Fat | 7 to 9g |
| Saturated Fat | 4 to 5g |
| Carbohydrates | 18 to 24g |
| Sugar | 10 to 14g |
| Protein | 2g |
| Sodium | 60 to 90mg |
Values increase significantly with royal icing, which is primarily powdered sugar.
Frequently Asked Questions
What is the difference between Preppy Kitchen sugar cookies and standard sugar cookies?
The key differences lie in the use of both vanilla extract and almond extract for flavor, the emphasis on chilling the dough for no-spread results, and the attention to baking time to keep the cookies soft. Standard recipes often skip the chilling step and use vanilla alone, which produces a flatter flavor and less reliable shape. John Kanell’s approach treats each step, including temperature management and precise measurement, as equally important, which is what makes these stand out among classic sugar cookie recipes.
Can I make the dough ahead of time?
Absolutely. The dough can be made up to three days ahead and stored in the refrigerator, or up to three months ahead in the freezer. In fact, overnight-chilled dough is often easier to work with than freshly made dough because it is firmer and less sticky. This makes it a great option for holiday baking when you want to spread the workload across multiple days.
Do Preppy Kitchen sugar cookies need to be refrigerated after decorating?
No. Once decorated with royal icing and fully dried, these cookies are best stored at room temperature in an airtight container. Refrigeration introduces humidity that can cause the icing to weep or soften. They stay fresh and safe at room temperature for up to a week.
Why does almond extract make such a big difference?
Almond extract contains benzaldehyde, a compound that triggers a flavor response associated with bakery-style confections. Even a quarter teaspoon in a large batch is enough to add a warmth and complexity that vanilla alone cannot replicate. It is the reason people often say homemade sugar cookies taste like something from a professional bakery when this ingredient is included. If you have a nut allergy, check the specific product; many almond extracts are made from stone fruit pits rather than tree nuts and may be safe, but always verify.
How do I get smooth, bubble-free royal icing on my cookies?
Mix the royal icing at low speed to avoid incorporating too many air bubbles. If bubbles appear in the icing, allow it to rest for ten minutes before using. When flooding, use a toothpick or scribe tool to pop any bubbles immediately after flooding while the icing is still wet. Adding a small amount of light corn syrup to the flooding consistency icing also produces a smoother, shinier surface once dried.
What is the best way to get vibrant colors in royal icing?
Use gel food coloring rather than liquid food dye. Liquid dye adds moisture to the icing and can affect consistency, while gel coloring is concentrated and does not change the texture. Add color gradually; it is much easier to deepen a color than to lighten it once it has been added. Keep in mind that royal icing often dries slightly darker than it looks when wet.
Can these sugar cookies be made without a stand mixer?
Yes. A hand mixer works perfectly for this recipe. If you do not have any electric mixer, you can also make the dough by hand using a wooden spoon or spatula, though creaming butter and sugar thoroughly by hand requires more effort and time. The result is still good, though the texture may be slightly denser.